This is part 3 of the Thulium series. Go back to part 2 or jump back to part 1.
Exam season has ended, and so too must this story. There are a lot more things I could self-host, but I’ve come to a point where I’m comfortable with the services I’ve set up for myself, and other ideas have larger scales and likely would deserve their own posts (setting up a mail server, for instance).
Ghost
It seems only proper that one who owns a domain name should have their own blog. Unfortunately, Medium doesn’t support custom domains, so it is up to self-hosted solutions once more. After much deliberation on this list of blogging platforms, I decided to go with Ghost, again because there exists an official Docker image and because it was touted as a simpler Wordpress. The Docker Compose file is as follows:
version: "3.1"

services:
    ghost:
        image: ghost:latest
        container_name: ghost
        environment:
            - NODE_ENV=production
        restart: always
        volumes:
            - ./content:/var/lib/ghost/content
            - ./config.production.json:/var/lib/ghost/config.production.json
        ports:
            - "2368:2368"
The blog can be accessed at localhost:2368. In config.production.json, "url" needs to be set to "http://hilb.ert.space" so that the @blog.url variable in .hbs files will be correct. A reverse proxy and SSL can be set up as with Gitea to have the blog be accessible at hilb.ert.space (i.e. the blog you currently are on, unless you’re reading it from Medium). The current theme I’ve set up is forked from The Shell, with syntax highlighting using Prism.js with the Duotone Sea theme.
...
<head>
    ...
    <link rel="stylesheet" type="text/css" href="{{asset "css/prism.css"}}" />
    ...
</head>
<body>
    ...
    <script type="text/javascript" src="{{asset "js/prism.js"}}"></script>
</body>
I’ve also added image captions following this blog post. The below snippets go under Settings -> Code injection -> Blog Header and Blog Footer.
<style>
.post .post-content figcaption {
    font-weight: 400;
    font-style: italic;
    font-size: 1.6rem;
    line-height: 1.5;
    color: #8c8c8b;
    outline: 0;
    z-index: 300;
    text-align: center;
    margin: 10px 0;
}
</style>
<script type="text/javascript">
    document.querySelectorAll(".post-content img").forEach((e) => {
        if (e.alt) {
            e.parentNode.innerHTML =
                `<figure class='image'>
                    ${e.parentNode.innerHTML}
                </figure>
                <figcaption>
                    ${e.alt}
                </figcaption>`;
        }
    });
</script>
A helpful tip with Docker: originally I had forgotten the url argument when creating the container, and by the time I realized I had already configured the blog. To fix this, I was able to access the terminal in the container using docker exec -it bash ghost, find the configuration file /var/lib/ghost/config.production.json, and copy it for editing using docker cp.

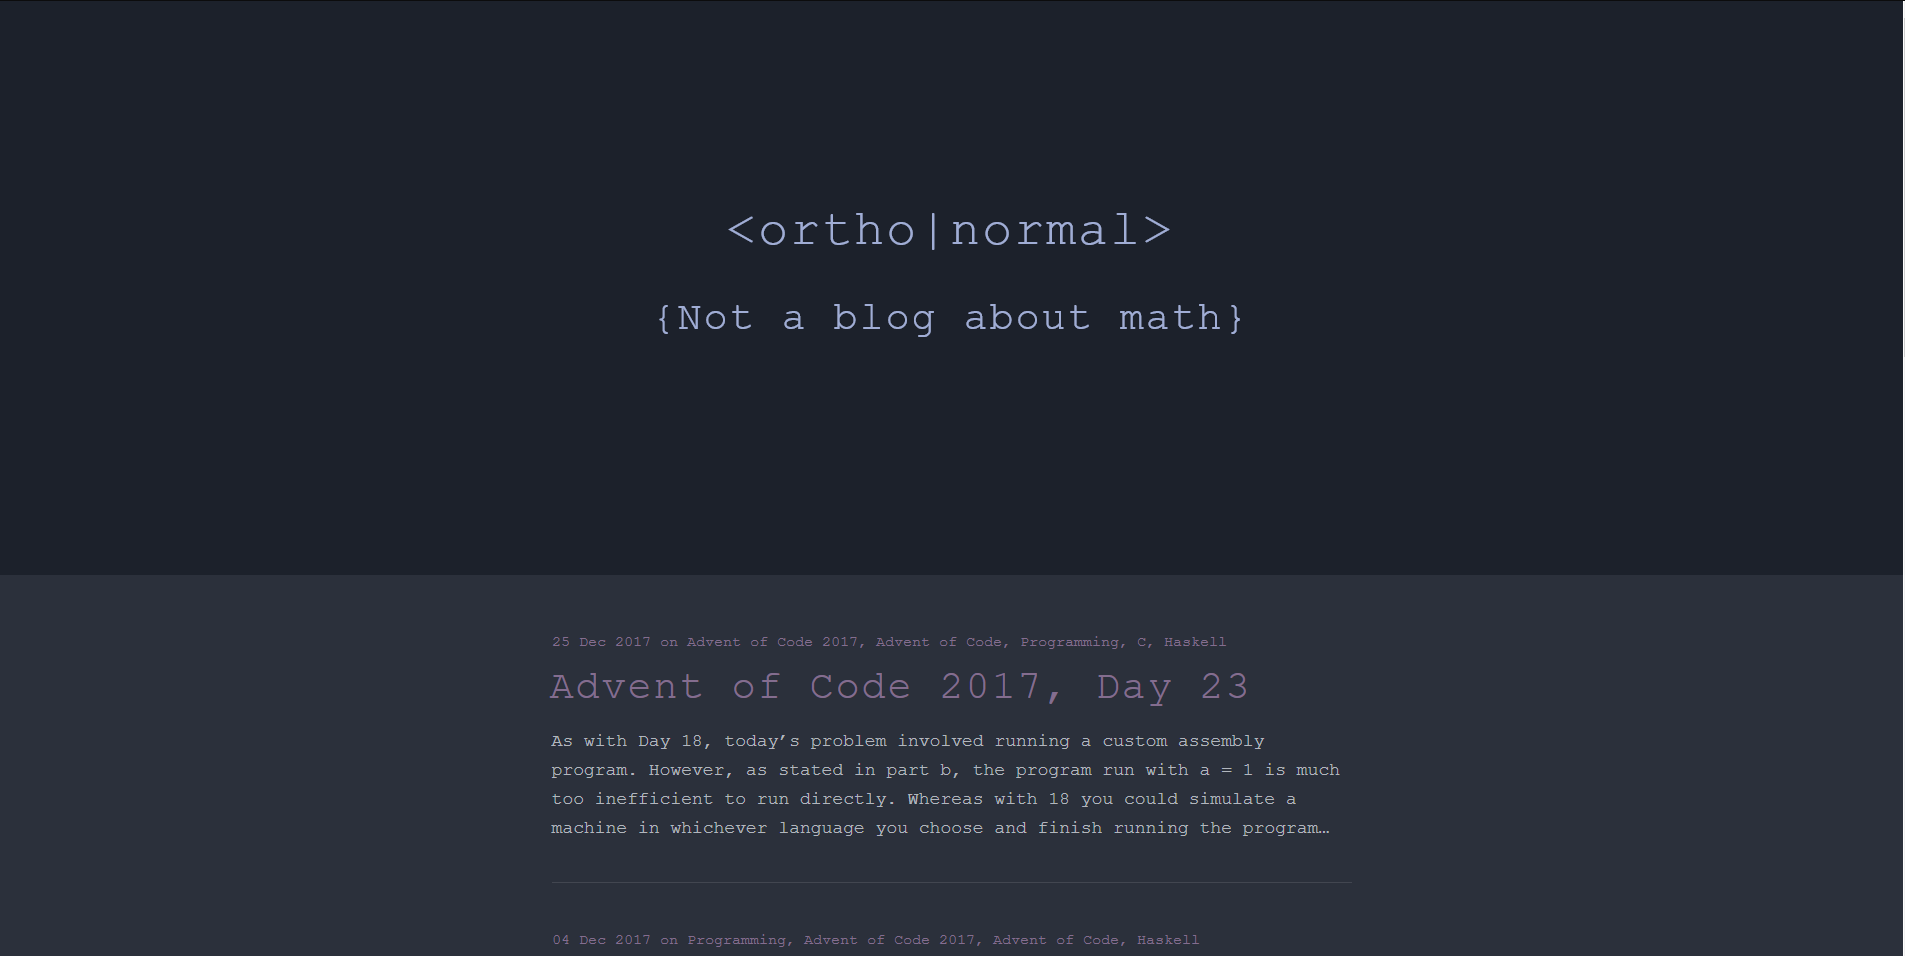
⟨ortho|normal⟩ (that's this blog!)
Server monitoring
There are a lot of choices out there for server and network monitoring. Starting out with this list, I ended up with a list of simple monitoring services:
And a list of more complex and comprehensive solutions:
I figured I’d only need something simple, so after some cursory Reddit searches, I tried out phpSysInfo. I liked the interface, and it came with a Docker installation, but it didn’t show details of the processes, so eventually I settled on Linux Dash. Installation was simple:
$ mkdir /srv/www/al.ert.space
$ cd /srv/www/al.ert.space
$ git clone --depth 1 https://github.com/afaqurk/linux-dash.git .

# create a new Nginx config file with your favourite editor
$ sudo vim /etc/nginx/sites-available/al.ert.space

# enable site, reload Nginx, and create SSL cert
$ sudo ln -s /etc/nginx/sites-available/al.ert.space /etc/nginx/sites-enabled/al.ert.space
$ sudo systemctl reload nginx
$ sudo certbot --nginx -d al.ert.space
The Nginx config file is essentially the same as that for ex.ert.space:
server {
    listen 80;
    listen [::]:80;
    server_name al.ert.space;

    # point to application files
    root /srv/www/al.ert.space/app;
    index index.html /server/index.php;

    # set up HTTP basic authentication
    auth_basic           "Authentication Required";
    auth_basic_user_file /etc/apache2/.htpasswd;

    location / {
        try_files $uri $uri/ =404;
    }

    # process PHP requests
    location ~ \.php$ {
        include snippets/fastcgi-php.conf;
        fastcgi_pass unix:/run/php/php7.0-fpm.sock;
    }

    location ~ /\.ht {
        deny all;
    }
}
There are some minor adjustments to be made: we need to install lm-sensors to be able to detect CPU temperature, and we need to add Nginx’s user to the docker group in order to see Docker processes.
$ sudo usermod -aG docker www-data

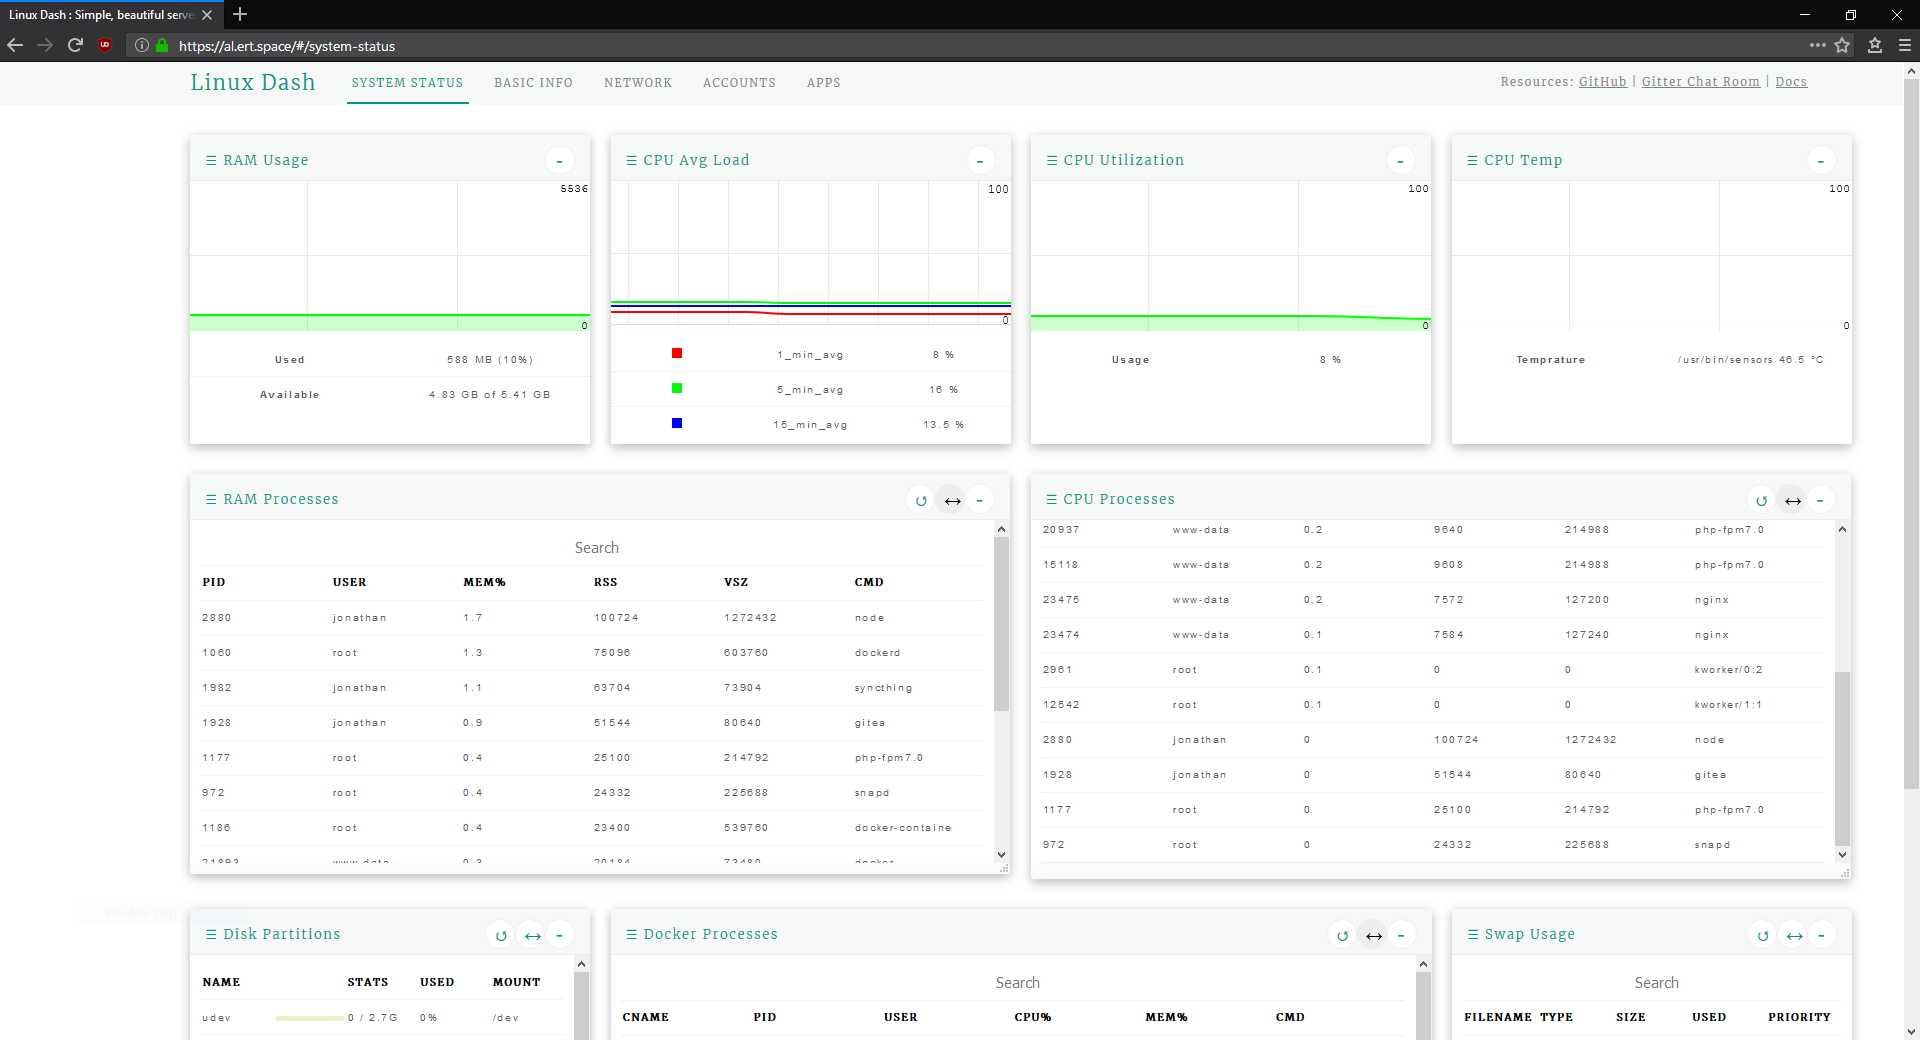
Linux Dash at al.ert.space
Backing up everything
At this point, a lot of files exist only on the server: all the Nginx configurations I’ve made, the repositories stored on Gitbert, the theme and Markdown posts of this blog, ⟨ortho|normal⟩, etc. Luckily, since I’ve set them all up on Docker, I can simply create an image from a running container and export it in .tar format to another HDD mounted at /mnt/backup, which I’ve partitioned and formatted following this tutorial. Below is the weekly cron task at /etc/cron.weekly/docker-backup set up to do just this.
#!/bin/bash

# array of containers[<backup name>]=<container name>
declare -A containers
containers[ghost]=ghost
containers[gitea]=gitea
#containers[syncthing]=syncthing
containers[nextcloud]=nextcloud

for k in "${!containers[@]}"; do
    v="${containers[$k]}"
    # save container $v as image nonphatic/thulium-$k
    docker commit $v nonphatic/thulium-$k
    # export image nonphatic/thulium-$k as archive docker-$k.tar
    docker save nonphatic/thulium-$k -o /mnt/backup/docker-$k.tar
done

# remove old images, as `commit` creates a new image every time
docker rmi $(docker images -f "dangling=true" -q)
In addition to the Docker images, I’ve also versioned and pushed my Nginx configurations here and versioned my changes to ⟨ortho|normal⟩’s theme in this fork. The actual files synced by Syncthing are not in the Docker image but are synced to my laptop, so there’s no need to create another backup. If my server’s HDD abruptly dies, I should be able to reconstruct it using these backup files and these blog posts with relative ease.
The road so far
A quick list of things that are in place:
- Six domains: https://in.ert.space (lander), https://ex.ert.space (Nextcloud), https://gitb.ert.space (Gitea), https://hilb.ert.space (Ghost), https://al.ert.space (Dash), https://ress.ert.space (Tiny Tiny RSS)
- Three localhost ports for GUIs:
8384 (Syncthing)8080 (Nextcloud), 3000 (Gitea), 2368 (Ghost), 8181 (Tiny Tiny RSS) Two other localhost ports: 22000 and 21027/udp (Syncthing)- Four forwarded ports: 22 (SSH), 80 (HTTP), 443 (HTTPS), 222 (Gitea SSH)
- Five Docker containers:
SyncthingNextcloud, Gitea, Ghost, Tiny Tiny RSS, and a Postgres container for Tiny Tiny RSS - Three new cron tasks:
ddns-update(daily),certbot-renew(daily),docker-backup(weekly) - Three blog posts: Part 1, Part 2, Part 3
References
- Awesome list of self-hosted services: https://github.com/Kickball/awesome-selfhosted
- Awesome list of sysadmin services: https://github.com/n1trux/awesome-sysadmin
- Ghost Docker image: https://store.docker.com/images/ghost
- The Shell theme for Ghost: https://github.com/mityalebedev/The-Shell
- Additional Prism.js themes: https://github.com/PrismJS/prism-themes
- Adding image captions to Ghost: https://blog.kchung.co/adding-image-captions-to-ghost/
- Using
lm-sensors: https://askubuntu.com/questions/53762/how-to-use-lm-sensors#53782 - Partitioning and formatting drives in Linux: https://www.digitalocean.com/community/tutorials/how-to-partition-and-format-storage-devices-in-linux
- Tiny Tiny RSS: https://hub.docker.com/r/clue/ttrss/


